- You have 3 ways to get to your quote requests:
- The top left box on your Dashboard, click on More Info.

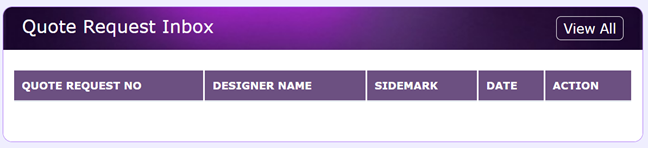
- Click on the Quote Request Inbox Tab on the top menu.

- Go to the Quote Request Inbox and select View All.
- You can also select how many records you want to view at one time.

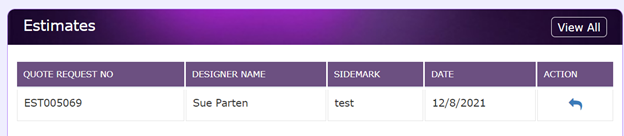
- You will see a list of Pending Quotes and their status:
- If it has been quoted it will say "Quoted".

- If it has been ordered, it will say “Ordered”.

- If a work order has been created it will say “Work Order”.
- If there are new quote requests the status will say “Not Quoted” and there will be a $0.00 total to the right.

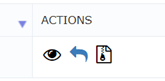
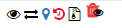
- Select the eye icon to view only, select the arrow to estimate it.

- When you click on the arrow the quote request will open.
- Along the top you will see the “contents” of the quote request:

- The arrow under the treatment description indicates the form that is currently open. Once you fill in that form you can move to the next form.
-
On the right of the form is the designer supplied treatment details.
You cannot edit this part of the from except to add picture of fabric or treatments the designer did not include.
If you do add pictures to this side, remember to save and continue this first, before you fill in the estimate side.
This will become the work order so it’s important to have pictures included.
- The Left side of the form is where you fill in the charges and yardages.
-
You can add more details in the Additional Description Cell or leave it blank.

-
Price Rules:
You can set up different price rules for different clients.
The price rule you have selected for this client is listed at the top of the estimating page.
If you do not see a price rule for this quote, you have not set the client up.
Do that before completing your estimate or your pricing will not auto populate. (See setting up Price Rules)

-
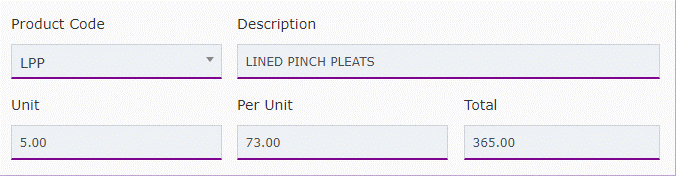
Product Codes:
If you have integrated with QuickBooks or another bookkeeping program and utilize product codes, your product codes will sync automatically.
If you need to set up product codes and pricing, see “Setting Up Product Codes.”
-
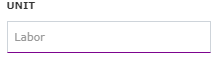
Next, you will begin entering your product codes and your units.
Units could represent the number of widths used in drapery panels, the number of square feet in a roman shade or the lineal feet in a valance or cornice.
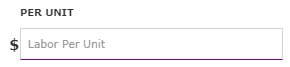
Once you enter the product code, your per unit pricing will auto populate.
Once you enter the units the system will calculate the total for you.
-
If you need to add other charges, select the
 to add another charge.
You can add as many charges as you need, each line will need to have its own product code.
to add another charge.
You can add as many charges as you need, each line will need to have its own product code.

-
All the charges will be added together into the Grand Total cell which is automatically calculated for you.

-
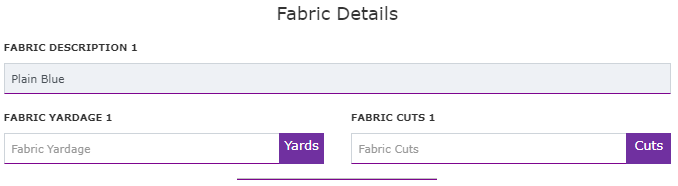
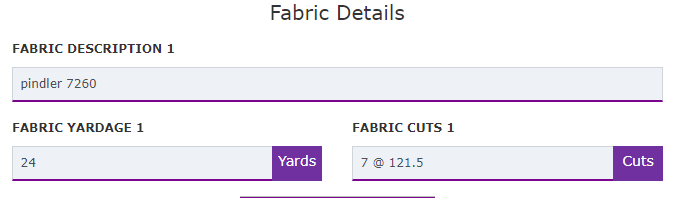
Under Trim Details and Fabric Details there will be a list of all fabrics and trims included in the designer quote request.
Enter the yardage and cuts for each fabric and trim.
-
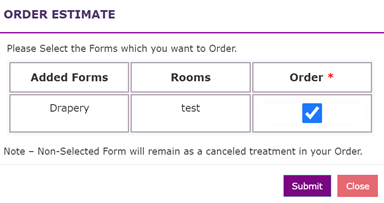
Once you’ve filled in all the information you can click save and continue.
It will take you back to the first page with the list of forms. If there are multiple forms, select next and move to the next form and repeat the process.
When you have completed all the forms select “Send Estimate” on the top right-hand side of the page.
-
If you want to go back and review the data before you send the estimate, select previous or next and you can move back and forth between forms.

-
If your client chooses to revise the form, you will receive a new Quote Request with the extension .1 after the quote number.
That means this is the first revision. They can continue to revise the form as many times as needed.
The extension will change with every revision.
QR 30012.1; QR 33012.2; QR33012.3 and so on.
-
When you receive a revised quote request you will have a Red Back arrow to the right of that form.
Clicking on that will allow you to look at all previous versions of that estimate.
You can open any version on another screen and look at the old and new version at the same time.

-
On a revision you will also be able to tell which form has been revised (it will be in a different color than the unrevised forms) if there are multiple forms.
The data in the unrevised forms remains intact and you only need to re-enter the details on the revised form.
-
You can archive an estimate once you know it has been lost by clicking on the zipper file icon
 .
Estimates that have been revised are automatically cancelled and placed in the Archived folder.
.
Estimates that have been revised are automatically cancelled and placed in the Archived folder.
Correcting An Estimate
If you discover you have made an error on your side of the estimate or you want to make a change you can correct and update the estimate.
Select the estimate you want to revise and click on the Pencil icon.

-
On the left side of the form, you can edit product codes, units, charges, and/or yardages. You can also add charges you may have forgotten by selecting the Add button.
Once the changes/corrections have been made click on “Update Estimate”.

-
The estimate will go directly to the client’s inbox with the changes included.
Adding Pictures
Some quote requests will come through without images.
Since this becomes the seamstresses work order, it is essential to have pictures of the fabric and the treatment type.
-
Fabric Pictures – Go to the website of the brand of fabric listed on the QR and search for that fabric.
Right click on the picture of the fabric and select “Save Image as”.
You can then save the image in the client’s electronic folder, or you can create another folder on your computer for fabric images.
These must be in picture format such as .jpeg or .png.
-
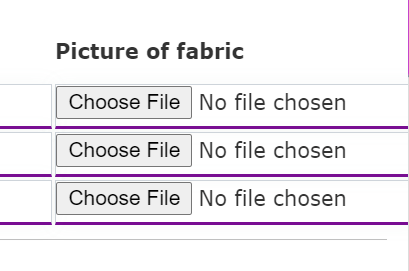
To the right of fabric description, in the quote request, select “Click here to upload image”.
-
Go to the file where you saved the image and select that image and choose open.
Your Image will automatically upload into your form along with the name of the fabric

-
Click “Save and Continue” to save the images you have uploaded.
Treatment Images
-
There is a gallery of pictures already loaded into each form that corresponds to the form that has been selected.
Your client can scroll through those images by clicking on “Show More” and select an image that matches the treatment they’re requesting a quote for.

-
If there is not a picture that fits their treatment type, they can upload a sketch of their own or a picture from the internet that exemplifies what they want.
-
After adding pictures be sure and click on save and continue before filling in the rest of the estimate.
If you do not, you will lose your uploaded images.


 to add another charge such as banding, headrails, nail heads, etc. You can also add a description of the additional charge. You can add up to 3 additional charges.